Master Cold Weather Tripods: Stability Below -20°C
By Nia Okafor • 26th Jan

When the mercury plummets below freezing, your extreme cold tripod becomes the unsung hero of your sub-zero photography gear. I've seen too many photographers battle with gear that fails them when conditions shift from challenging to hostile. What separates successful cold-weather shooters from those heading home with blurry images isn't just better equipment, it's smarter habits that work when your fingers go numb and the wind howls. This field-tested protocol isn't about expensive gear swaps; it's about developing repeatable patterns that function reliably when temperatures drop below -20°C.
Slow is smooth; smooth is sharp when the wind rises.
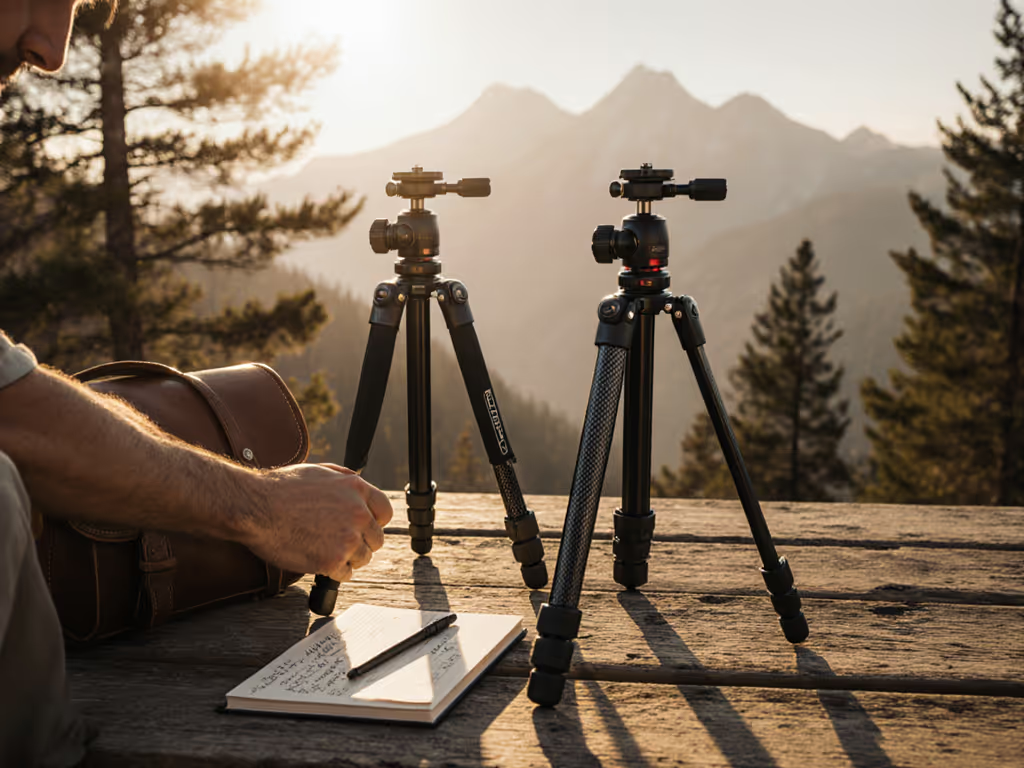
Step 1: Pre-Expedition Preparation (The 24-Hour Field Check)
Before you even step outside, your tripod system needs verification. Extreme cold magnifies small flaws that would be negligible in milder conditions.
Temperature-Test Your Components
Bring your complete setup (legs, head, quick-release) into a walk-in freezer or cold garage overnight. This reveals critical issues:
- Leg locks that seize or require excessive force
- Ball head tension that changes dramatically with temperature
- QR plate engagement that becomes unreliable
Pay special attention to carbon fiber tripods, which generally outperform aluminum in extreme cold due to superior thermal properties. Unlike aluminum (which conducts cold rapidly and can become uncomfortably cold to handle), carbon fiber maintains usability longer in freezing conditions.
Pack-Ready Lubrication Check
Many photographers learn the hard way that standard lubricants thicken in extreme cold.
- Apply only manufacturer-approved cold-weather grease to moving parts
- Test twist locks at -20°C: they should require no more than moderate finger pressure
- Ensure your quick-release system works smoothly with gloves on
Mark your calendar for seasonal cold weather tripod maintenance (lubricant performance degrades over time, even when stored properly).
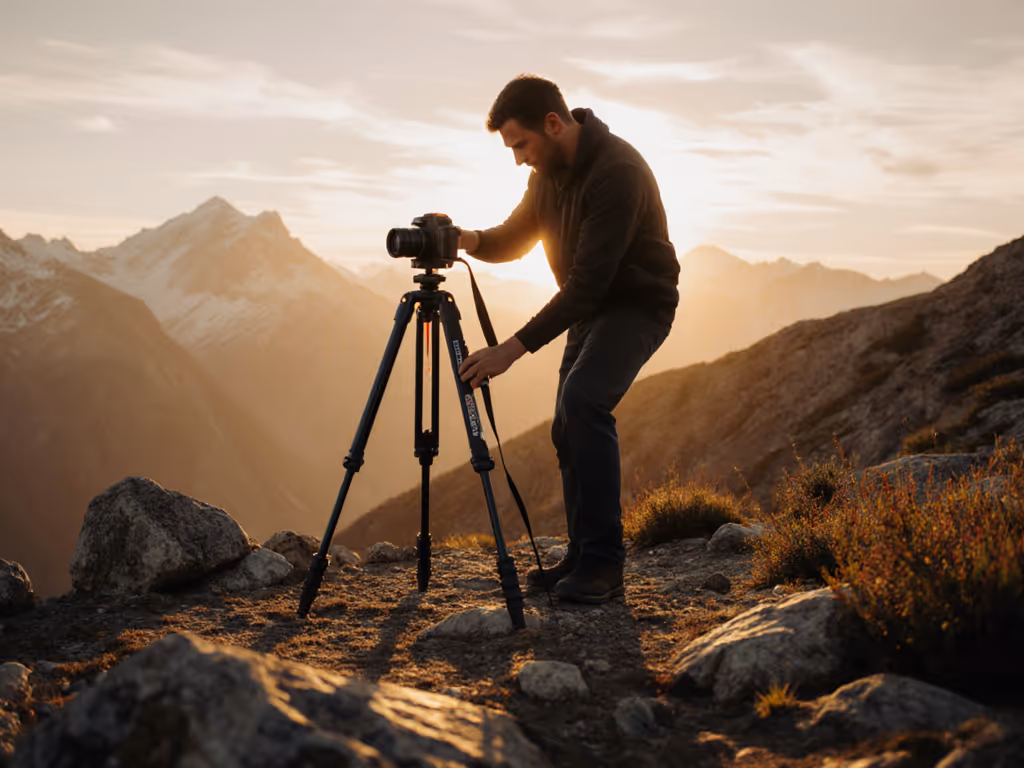
Step 2: Deployment Protocol (The Wind-Scoured Dune Method)
Recall that workshop on the wind-scoured dunes where everything changed when we paused the chaos. This same methodology works wonders in Antarctic photography or any extreme cold environment.
Three-Step Sequence for Hostile Conditions
-
Legs to True Height: Extend only the lower sections first. Avoid center columns below -10°C, they vibrate like tuning forks in cold wind. Your working height comes from leg extension, not column elevation.
-
Level Base Once: Check your bubble level with gloves on (real-world conditions), then make a single adjustment. Resist the urge to constantly tweak, as this introduces micro-movement. Carbon fiber tripods provide superior stability when properly leveled on snow and ice.
-
Free the Pan: Only after legs and base are locked should you release the panning function. This sequence prevents snow and ice from working their way into the head mechanism during setup.
Snow and Ice Ground Contact Protocol
When setting up on packed snow or ice: For traction on snow, ice, and mixed terrain, use our tripod feet guide to pick spiked, claw, or wide feet that bite securely.
- Press legs firmly into the surface to create stable indentations
- Use spiked feet (never rubber on hard-packed snow)
- Angle legs outward slightly for wider stance, which compensates for softer surfaces beneath packed snow
- For deep snow, partially extend mid-levelers to create a stable platform before full leg extension
Step 3: Stability Verification (Field Checklist)
Don't assume your setup is stable just because it looks solid. Extreme cold creates unique vibration challenges.
The 20-Second Rule
After setup:
- Attach your heaviest lens
- Use mirror-up or timer mode
- Take a 20-second exposure at base ISO
- Check for vibrations in the resulting image
If vibrations appear, double-check:
- Leg locks (often partially engaged in cold)
- Head mounting plate (ice crystals can prevent full contact)
- Foot contact points (packed snow may shift under pressure)
Tripod Freezing Prevention Techniques
When transitioning from warm to cold environments:
- Store your tripod in an insulated bag during transport
- Allow gradual acclimatization (15-20 minutes) before setup
- Never breathe directly on cold metal components, as your moisture will freeze instantly
- Keep spare lithium batteries in an inside pocket; cold drains power rapidly
Step 4: In-Field Maintenance (Keeping Systems Functional)
Cold weather photography requires constant vigilance against freezing components.
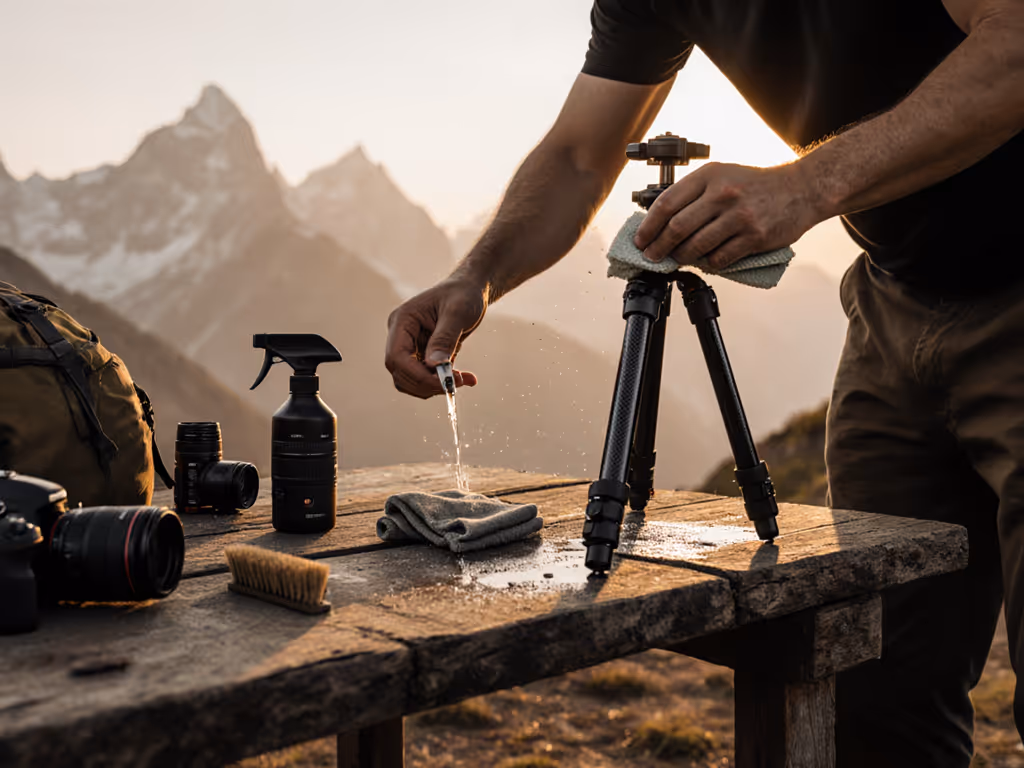
Ice Buildup Response Protocol
If you notice ice forming on leg locks or head mechanisms: For cold, wet, and sandy environments, compare flip vs twist lock performance to choose mechanisms that won't seize in sub-zero conditions.
- Stop all operations immediately
- Gently brush away visible ice with a stiff-bristled lens brush
- If moisture has entered mechanisms, add a drop of isopropyl alcohol (90%+) to displace water
- Allow 5 minutes for evaporation before continuing
Never force frozen components, as this causes permanent damage to carbon fiber tripods and other gear.
Glove-Friendly Operation Check
Every 30 minutes in extreme cold:
- Verify you can operate all controls with your photography gloves on
- Check that leg locks haven't partially released due to thermal contraction
- Ensure quick-release plate remains secure (metal contracts more than carbon fiber)
Step 5: Breakdown Procedure (Avoiding Costly Mistakes)
Packing down requires as much discipline as setup. This is when most cold weather damage occurs.
The Reverse Sequence
- Pan Lock First: Secure panning before touching anything else
- Condensation Delay: Wait 5 minutes before collapsing legs to prevent internal moisture buildup
- Section-by-Section: Collapse only one section at a time, checking for ice between segments
Post-Expedition Protocol
When you return to warmth: To keep locks smooth and prevent corrosion after freeze-thaw cycles, follow our tripod maintenance guide.
- Keep your tripod in a sealed plastic bag until fully acclimated (2-3 hours)
- Wipe down with a dry microfiber cloth once condensed moisture appears
- Store partially extended until completely dry inside
- Schedule thorough cold weather tripod maintenance after every major expedition
Your Actionable Next Step
This weekend, run through the Three-Step Sequence in your coldest accessible environment, even if it's just your freezer or a chilly garage. Document exactly how your current extreme cold tripod performs at -5°C. Note where you struggle with gloves on, which components freeze first, and where stability fails. This simple drill reveals everything you need to know about whether your current winter photography setup will survive true sub-zero conditions.
When your fingers go numb and the wind picks up, you won't have time to consult manuals. You'll need habits that work when conditions turn hostile. That workshop on the dunes taught me that repeatable patterns transform chaos into clear images. Now it's your turn to build those patterns, before your next expedition leaves you wrestling with gear instead of capturing the shot.
Related Articles